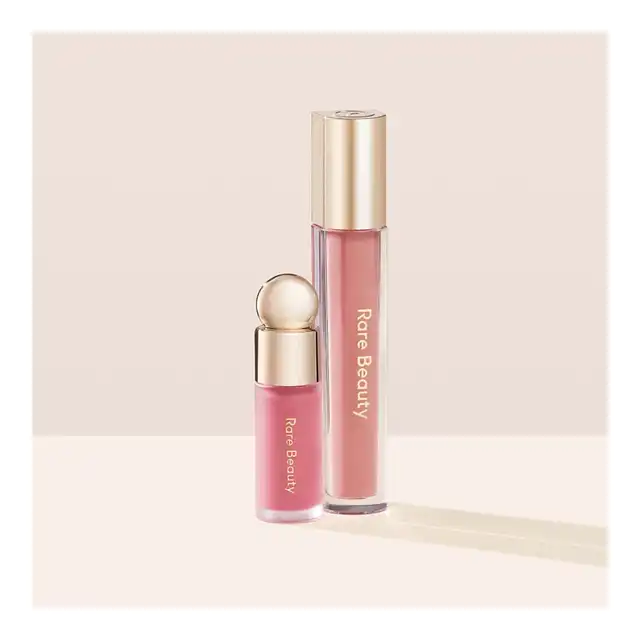
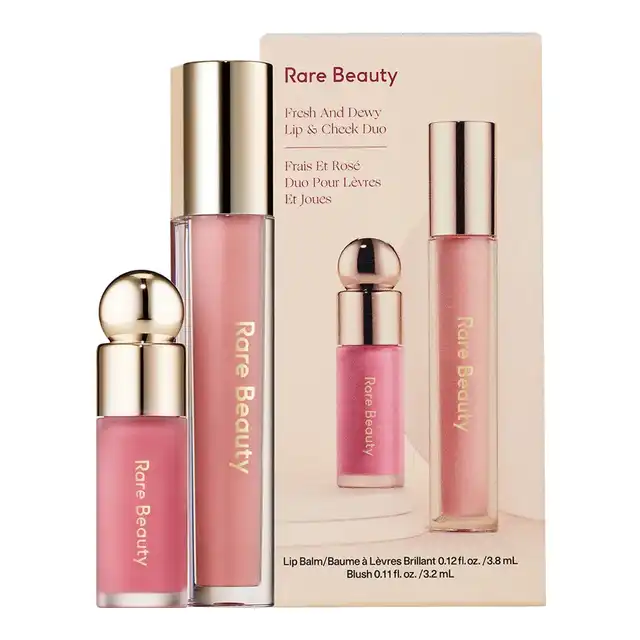
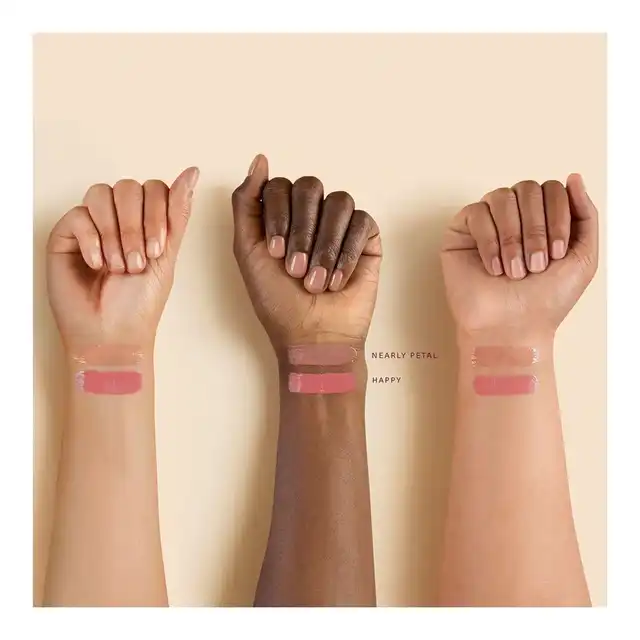
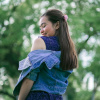
Isabella @isabella5 months ago RARE BEAUTY RARE BEAUTY Fresh And Dewy Lip & Cheek Duo (Limited Edition) Shop link in the comment👇 #beauty#rarebeauty#makeup 0 44
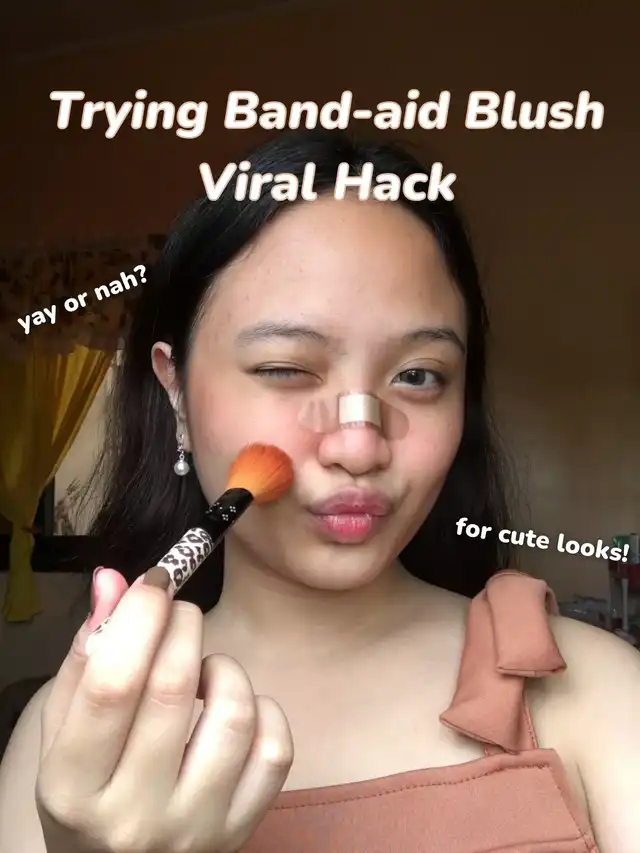
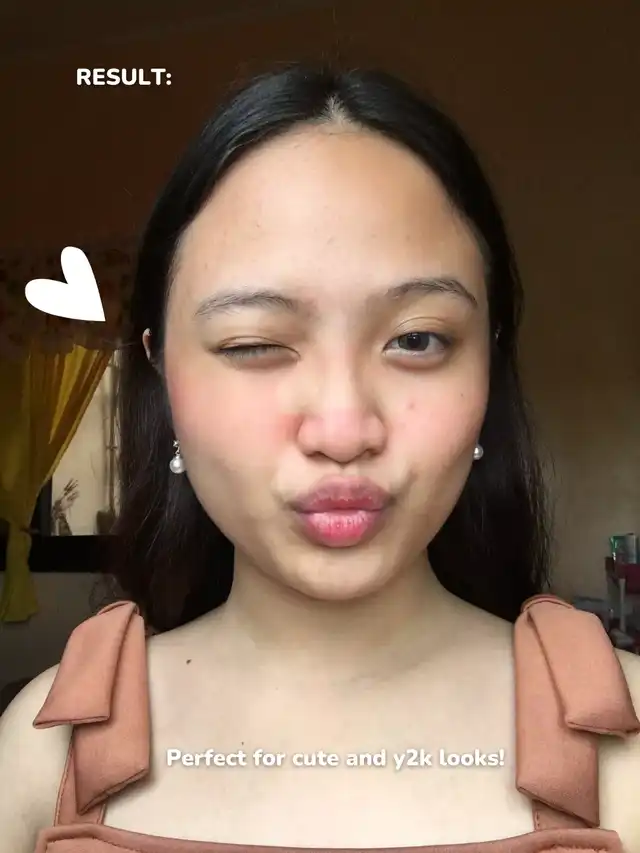
Rhea @rhea5 months ago Trying Band-aid Blush Viral Hack There are many cute viral hacks on social media and most of the makeup enthusiasts are trying them. But there is a famous makeup trend that also caught my attention because there are many makeup enthusiasts are trying them. And with that, I am going to try the band-aid blush hack. Yes, you read it right. With the use of band-aid, you will already achieve a y2k or a cute-ish look. I am going to try this hack if it is worth the hype or not. 😊 If you are also wanting to try this, this may be for you! I got you! 😉 Here are the steps: 😉 Step # 1: Put on the band-aid on the nose bridge. Avoid letting it crumpled. 😉 Step # 2: After putting on the band-aid, apply blush all over your cheeks. 😉 Step # 3: After applying blush on your cheeks, gently peel off the band-aid from your nose. You may now see the result. 🥰 In my own opinion, it kind of work and it is indeed perfect on y2k makeup looks or cute girl makeup looks but, in my case, I did not like it that much because my nose part became sticky because of the sticky part of the band-aid but it is a good hack, after all! 💖 0 18
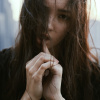
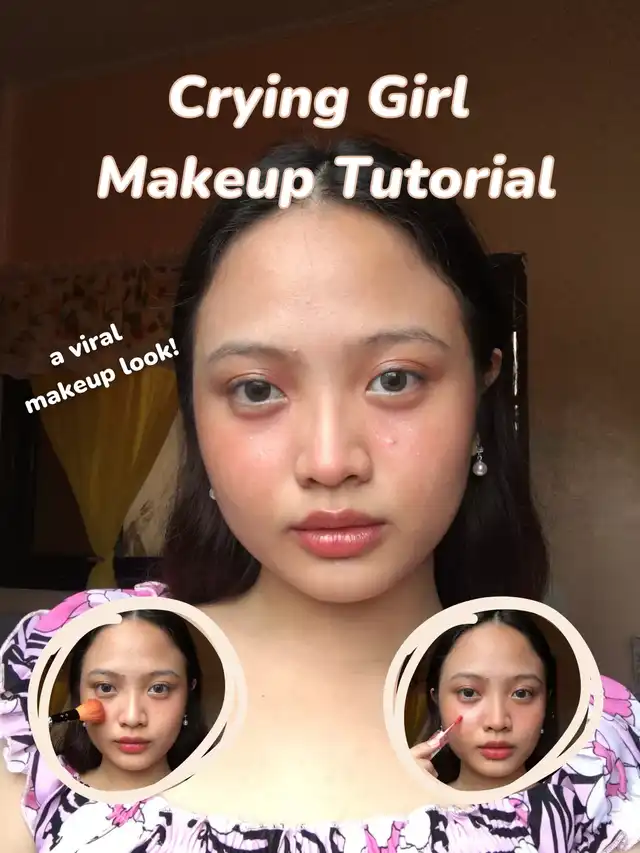
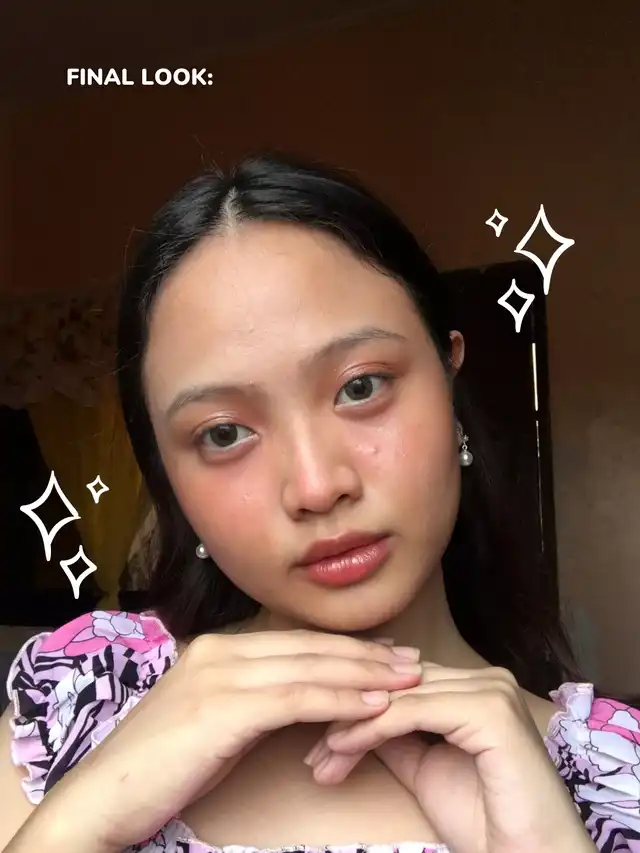
Leslie @leslie5 months ago Crying Girl Makeup Tutorial There is a famous makeup look that is circulating on all social media platforms and this is the crying girl makeup. This makeup look is a type of look where you look like you are crying but just through the magic of makeup. For today, I am going to share how this makeup look works. Do not worry because it is easy, I got you! 😉 Here are the steps: ✨ Step # 1: Apply blush under your eyes. Apply as much as you can until it satisfies your look. ✨ Step # 2: Apply blush on the tip of your nose. This will make your look to be more effective. ✨ Step # 3: Apply a pink or red-ish eyeshadow on your lids. ✨ Step # 4: Apply a gloss on the inner corner of your lids, under your eyes to the cheeks. This will serve as your fake tears. ✨ Step # 5: Apply a gloss on your lips. After these steps, you already achieved the crying girl look! ✨ It is easy right? The gloss is the most important product here because it will serve as your tears. In using a gloss, do not use a gloss with a mint on it because it can irritate your eyes and face. 😊 0 47
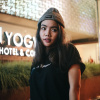
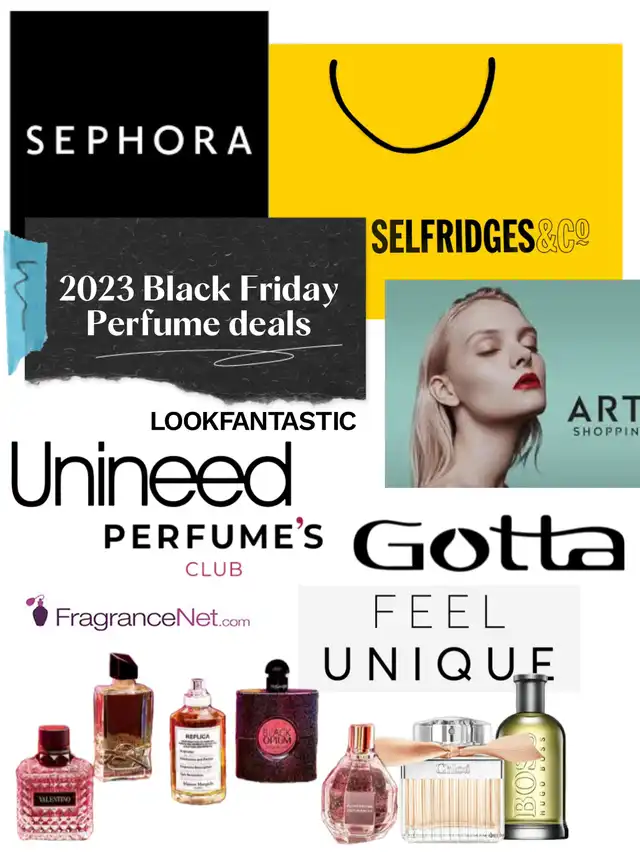
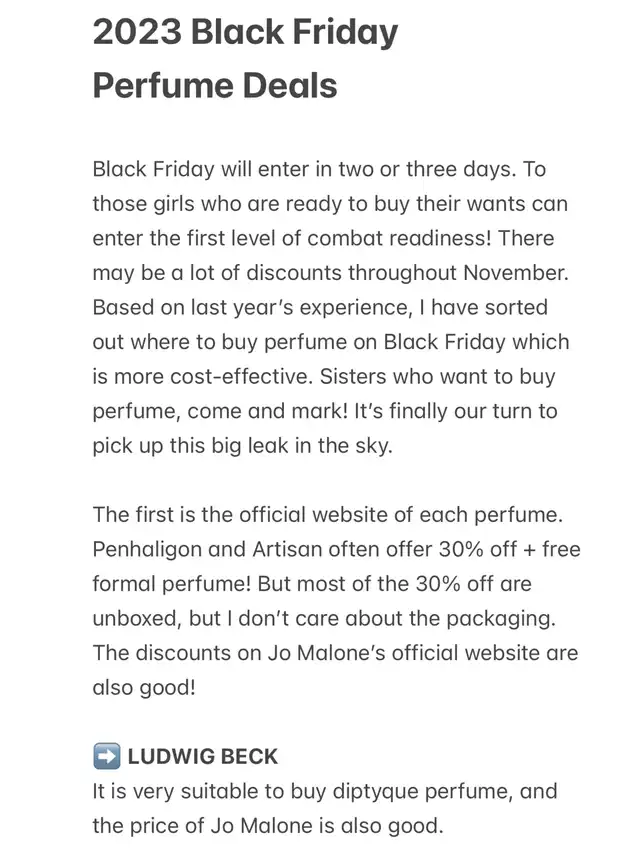
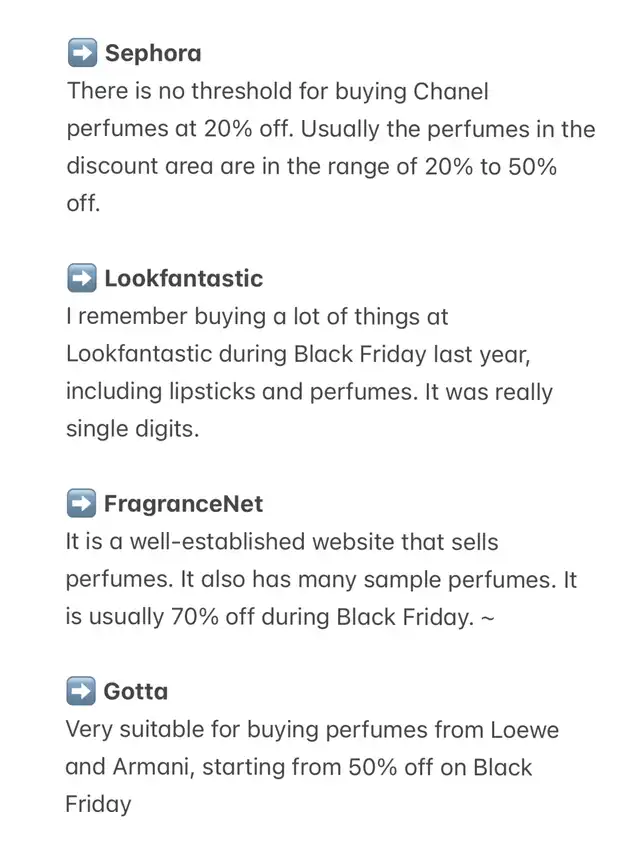
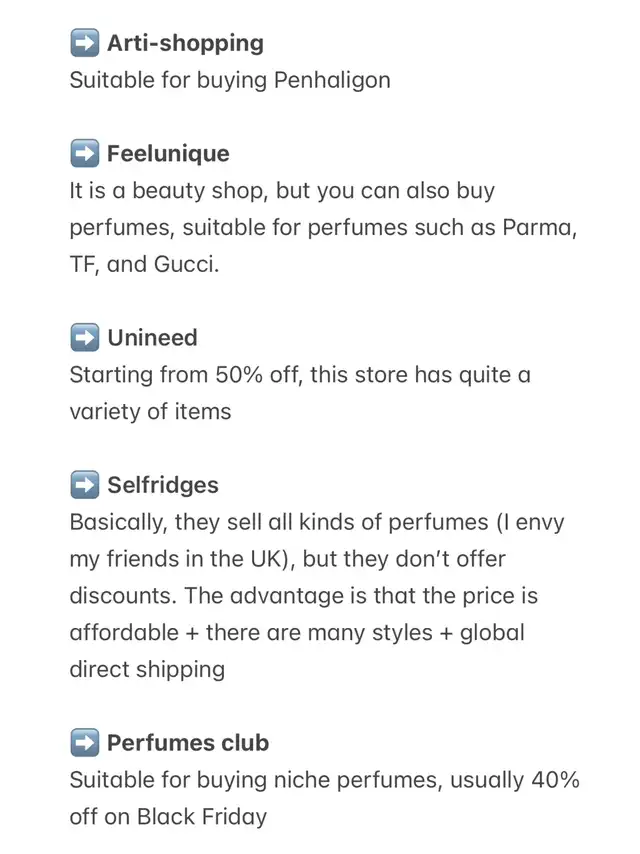
Yesenia @yesenia5 months ago 2023 Black Friday Perfume Deals Black Friday will enter in two or three days. To those girls who are ready to buy their wants can enter the first level of combat readiness! There may be a lot of discounts throughout November. Based on last year’s experience, I have sorted out where to buy perfume on Black Friday which is more cost-effective. Sisters who want to buy perfume, come and mark! It’s finally our turn to pick up this big leak in the sky. ➡️ LUDWIG BECK ➡️ Sephora ➡️ Lookfantastic ➡️ FragranceNet ➡️ Gotta ➡️ Arti-shopping ➡️ Feelunique ➡️ Unineed ➡️ Selfridges ➡️ Perfumes club #blackfriday #blackfriday2023 #thanksgiving #perfumerecommendation #perfumedeals #perfume 0 36
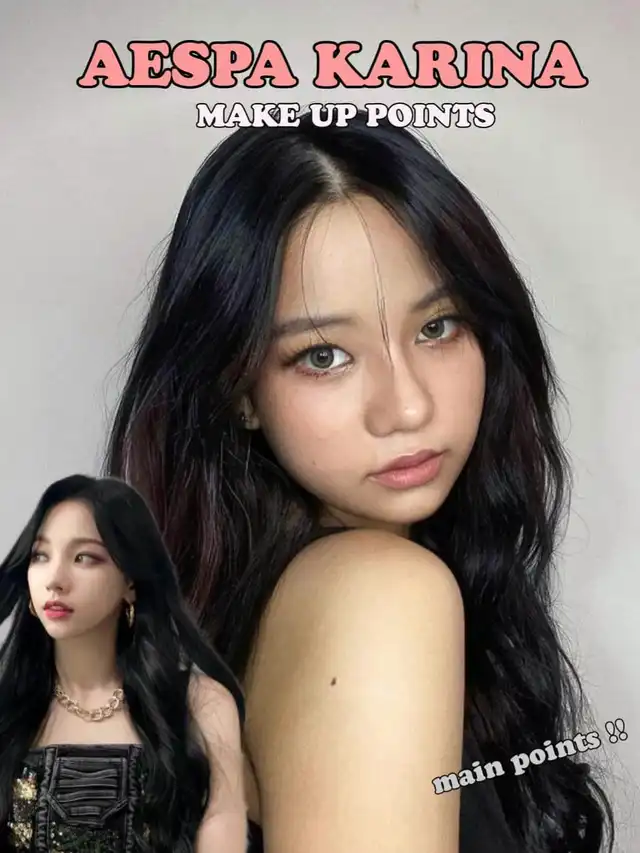
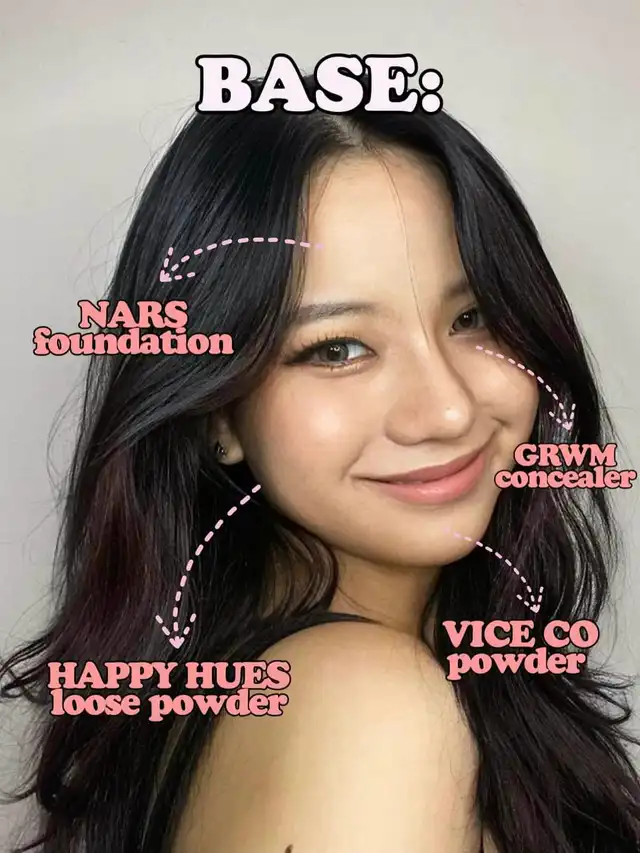
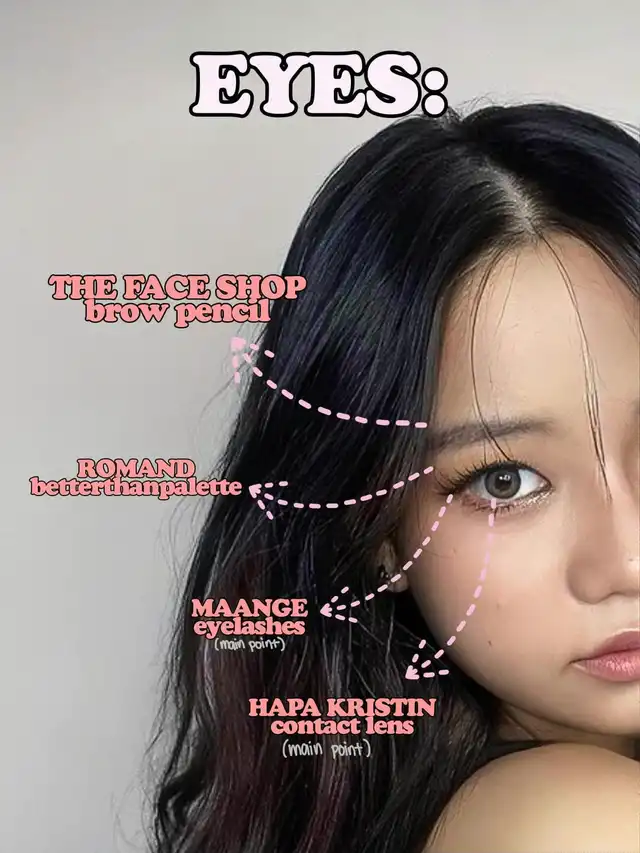
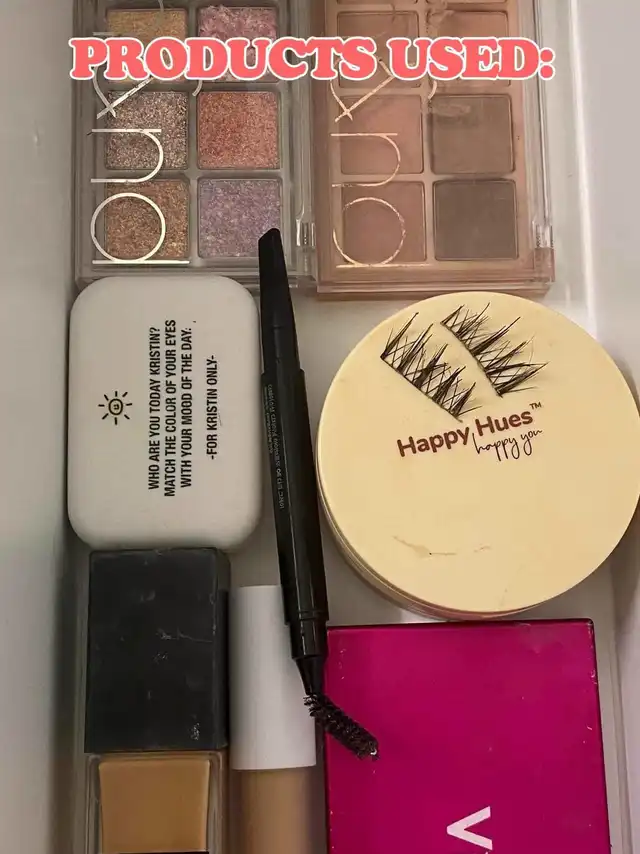
Yesenia @yesenia6 months ago KARINA MAKE-UP POINTS Karina (카리나) is a South Korean singer and rapper under SM Entertainment. She is the leader of the girl group aespa and a member of the female unit GOT the BEAT! Not to mention, I got complimented a lot with this look right here which is why i'm sharing it with you! Karina is know for her AI looking visuals so the main point of her looks always focuses on the eyes. Here's what I did: 1. To have more depth on the eye makeup, I made sure to put on lashes that makes my eyer look bigger in a cat eye cut for that lifted look. TIP: use a mascara for the lashes to have longer strands to make you look more of an AI like Karina. 2. Picking the right size of lenses for your eyes. Color matters as well. In my position, I use a green to gray lenses to copy KPOP Idols' make-up look for they always use bright colored to natural looking lenses which in this case, I used a green gray pair of lenses that mimicked Karina's Note: I'm always wearing a 13.0 diameter to blend well with my eye size. For other products used, make sure to check out the last photo for this matters on your own preferences. Would you try this look? Love, Lois🫶 0 48
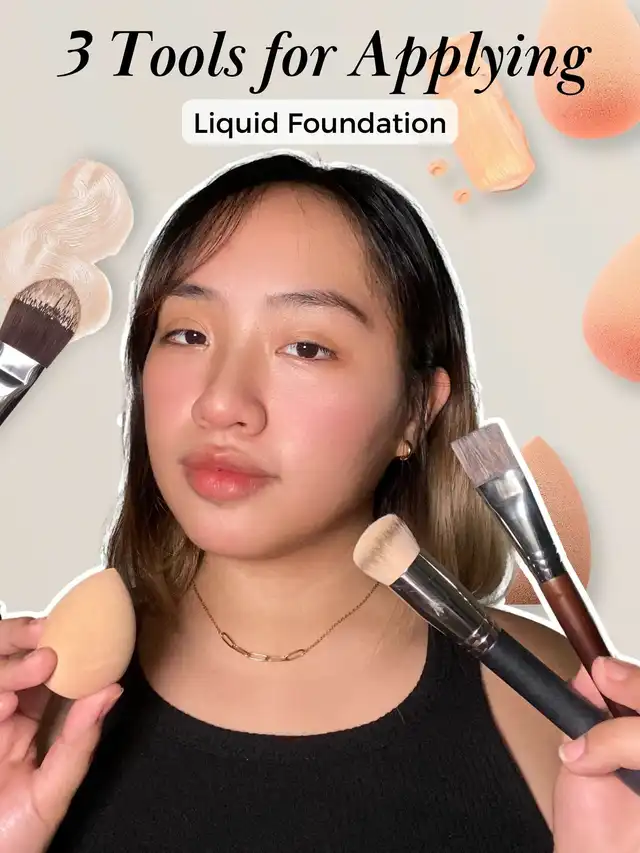
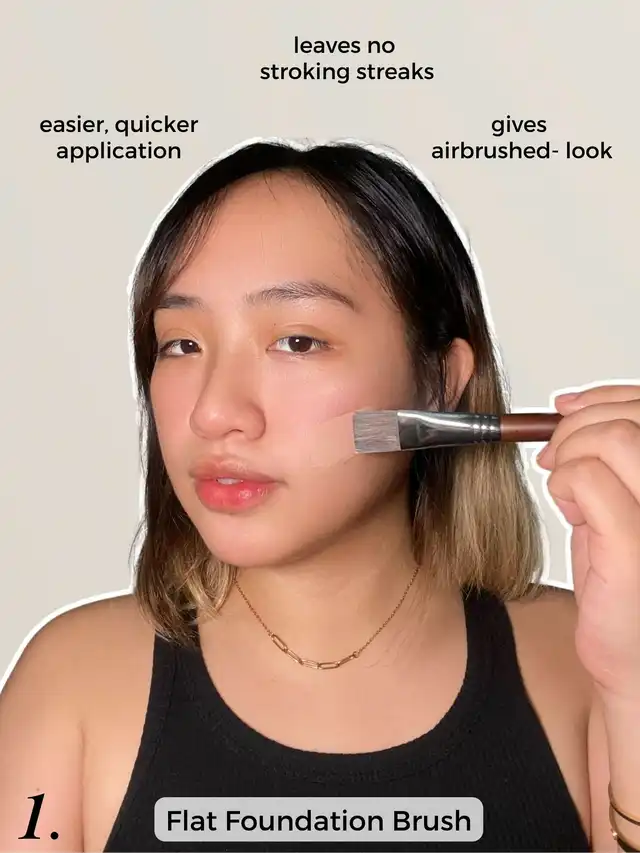
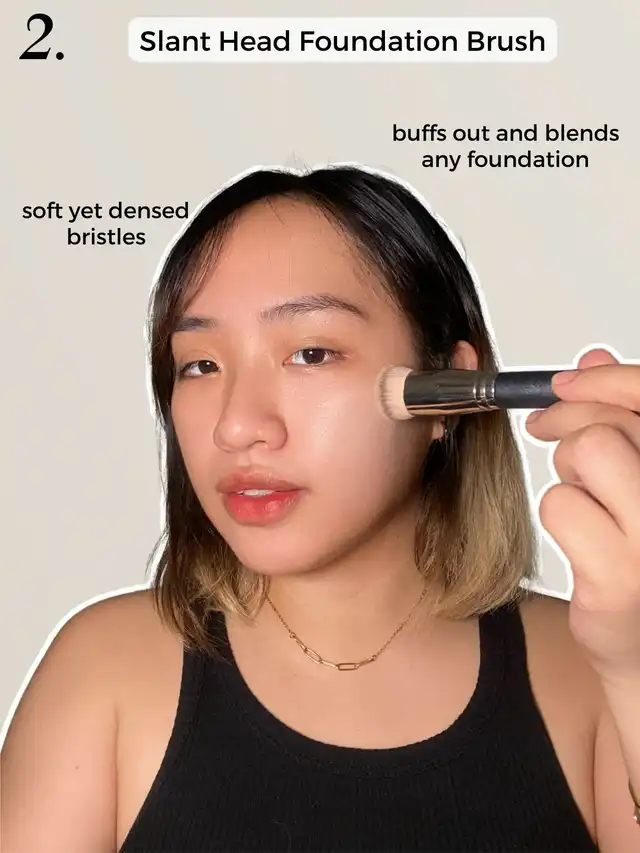
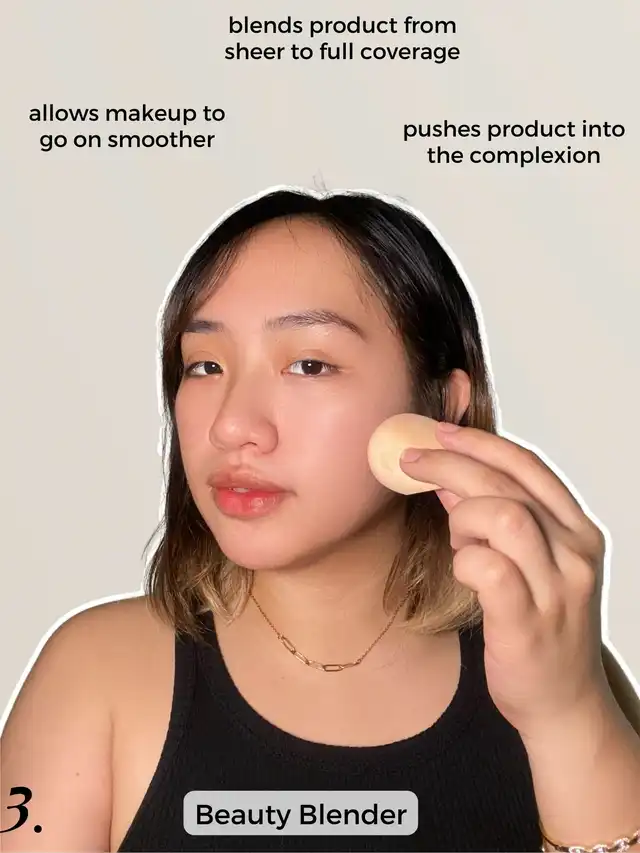
Esperanza @esperanza6 months ago 3 Tools for Applying Liquid Foundation Knowing what makeup tools does to your products is very important. Although selecting makeup tools to apply your foundation is a matter of preference, you have to know each’s uses. Here are 3 tools for applying liquid foundation, get to know them! 😉✨ 1. Flat Foundation Brush This brush is used when you’re opting for a full glam look. This brush is easy to use, leaves no stroking streaks and gives you and airbrushed finish. It’s also quicker to use. Act as if your face is a blank canvas and just glide the brush 🖌 2. Slant Head Foundation Brush This brush has soft yet densed bristles making your foundation application even and flawless. It buffs out and blends any liquid foundation. If you want a medium coverage finish, use this brush 💡 3. Beauty Blender The most popular tool. It allows makeup to go on smoother and pushes product into the complexion making it look more natural. This blends product from sheer to full coverage 🧽 0 31
Lily @lily6 months ago [VIDEO] a cute everyday palette use code 𝗦𝗔𝗟𝗜𝗦𝗛𝗘𝟱 for an additional discount at Oliveyoung♡ #beauty #korea #kbeauty #oliveyoung #oliveyoungglobal #oliveyoungaffiliate #makeup #CLIO 0 22
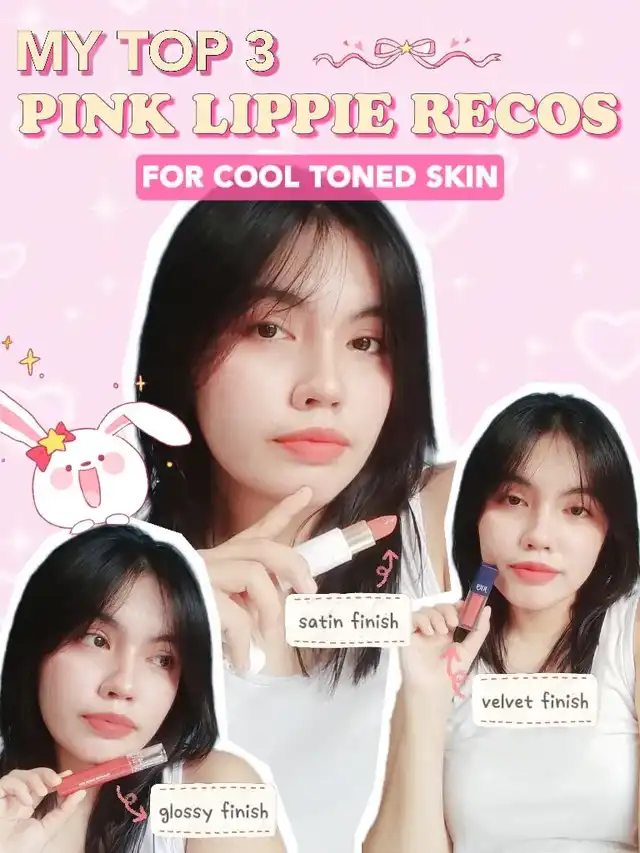
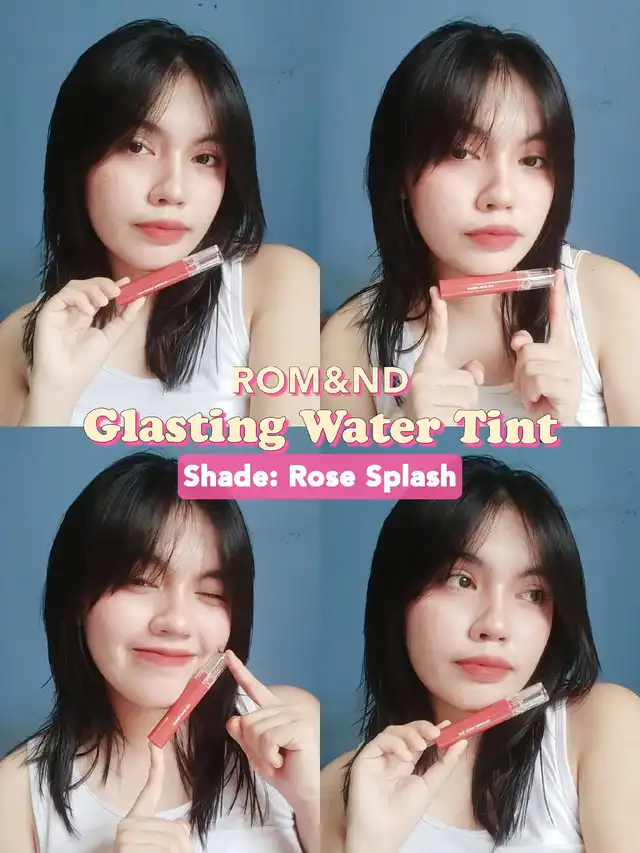
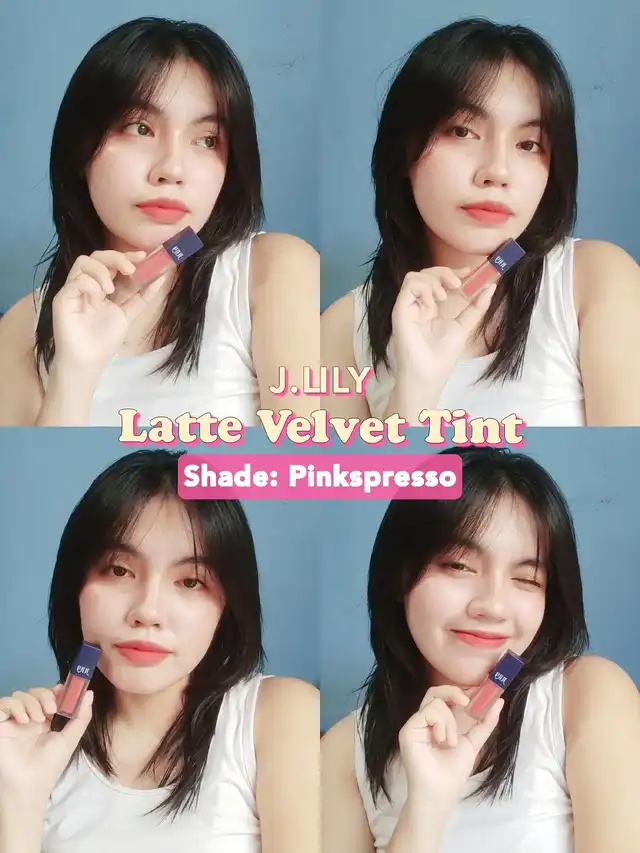
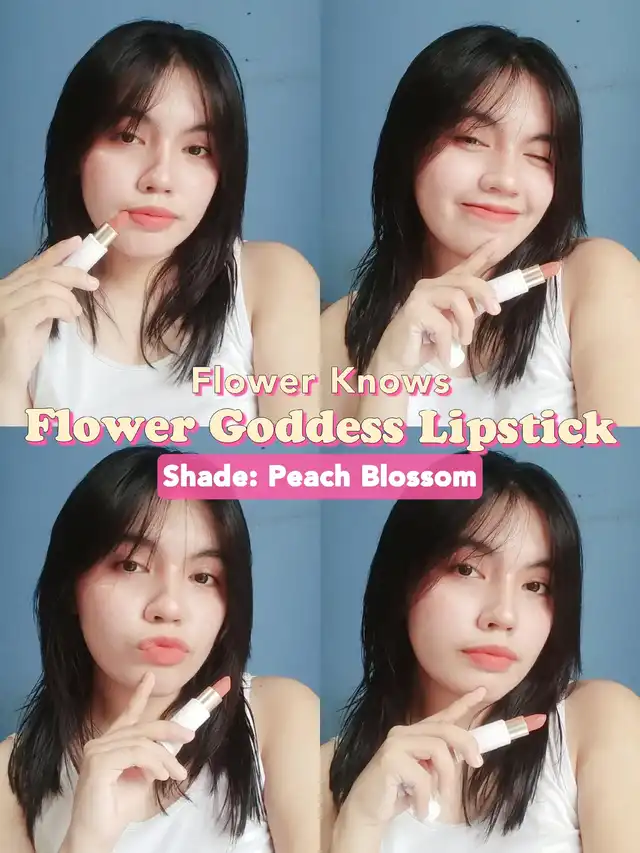
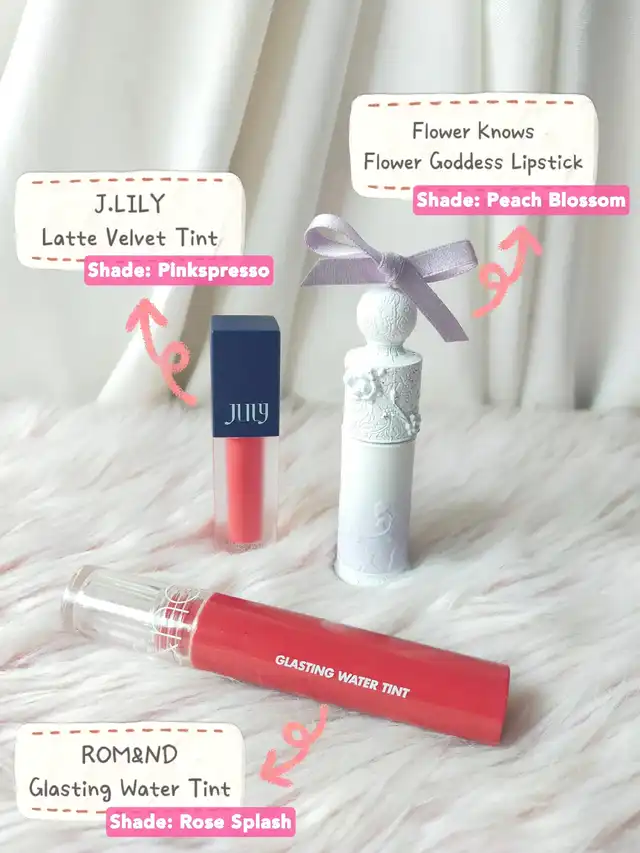
Leilani @leilani6 months ago MY TOP 3 PINK LIPPIE RECOS FOR COOL-TONED SKIN Hello everyone! ✨ After posting skincare content, I really miss doing makeup related content! 😆 SO! I'm finally back with makeup related content featuring: My Top 3 Pink Lippie Recos for Cool-toned Skin! 💗 I personally have a neutral skin undertone, so I'll be sharing more of my recommendations soon! 🤭 With that being said, HERE ARE MY RECOMMENDATIONS! 💄 ROM&ND Glasting Water Tint in Rose Splash – glossy finish ✨ ✅ leaves a stain ✅ long lasting ❌ limited shade range 💄 J.LILY Latte Velvet Tint in Pinkspresso – velvet finish ✨ ✅ vibrant and saturated color ✅ applies smoothly on the lips ✅ blurs lip lines ❌ not transfer proof ❌ limited shade range 💄FLOWER KNOWS Flower Goddess Velvet Lipstick – satin lipstick ✨ ✅ pigmented and saturated color ✅ lovely packaging and brand aesthetic ✅ wide shade range ❌ not transferproof That's all! I hope you enjoyed my recommendations~ Which shades do you wanna see next? 😆💗 0 38
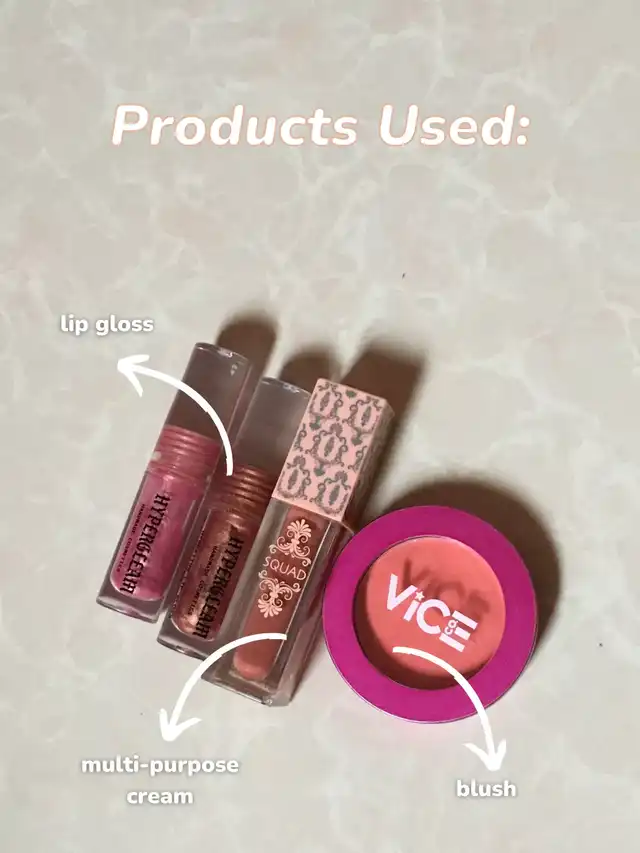
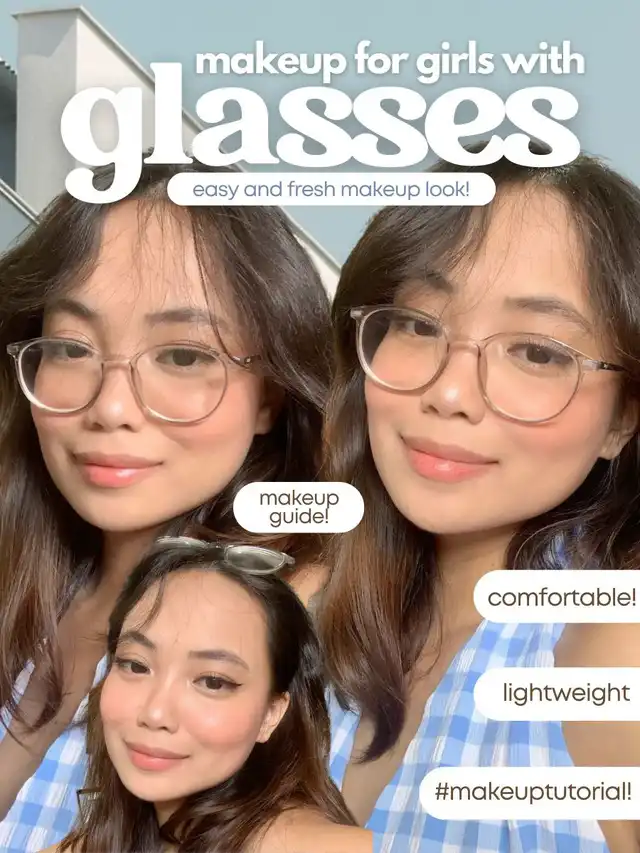
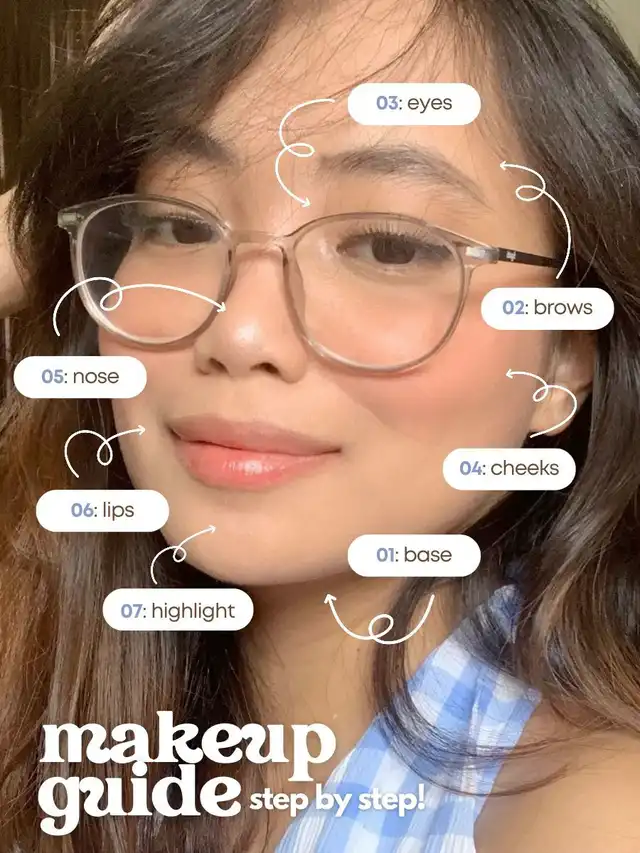
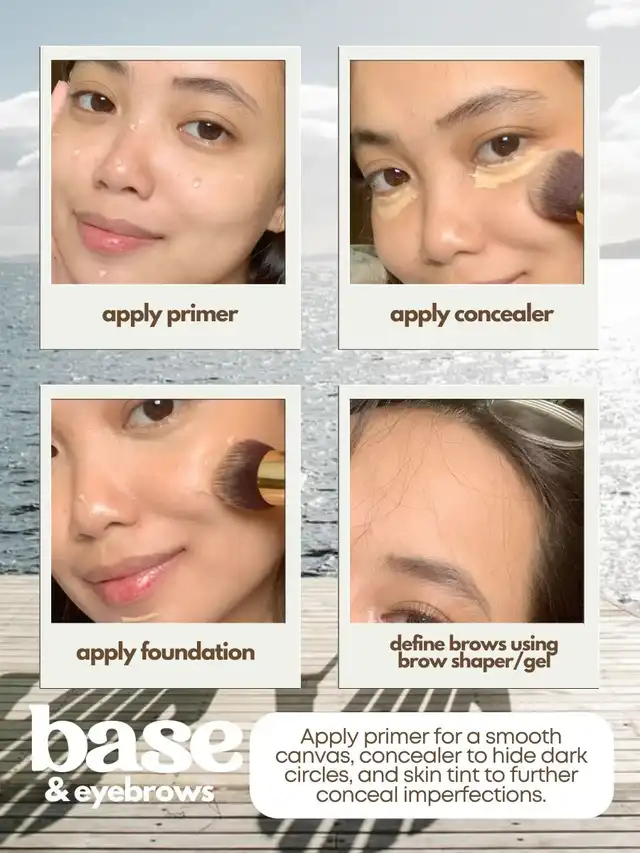
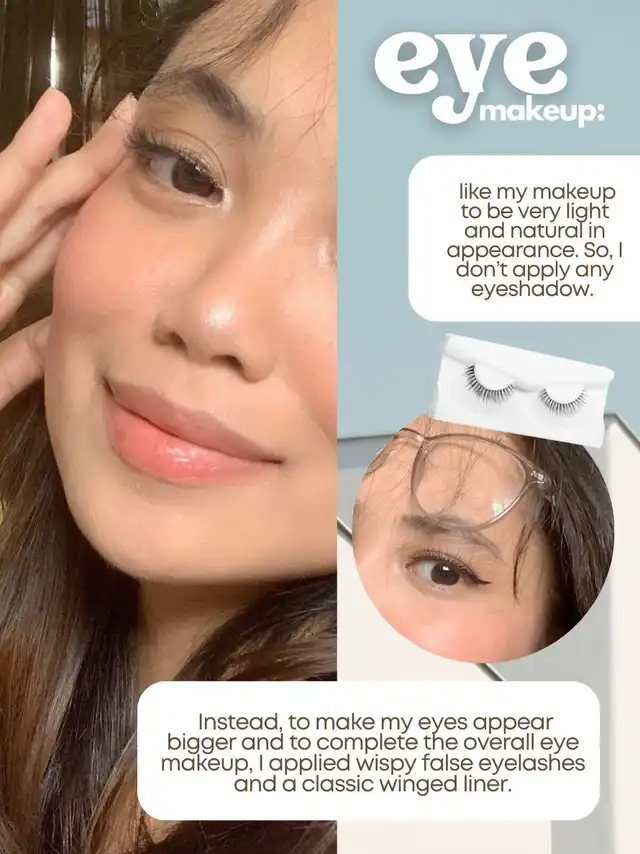
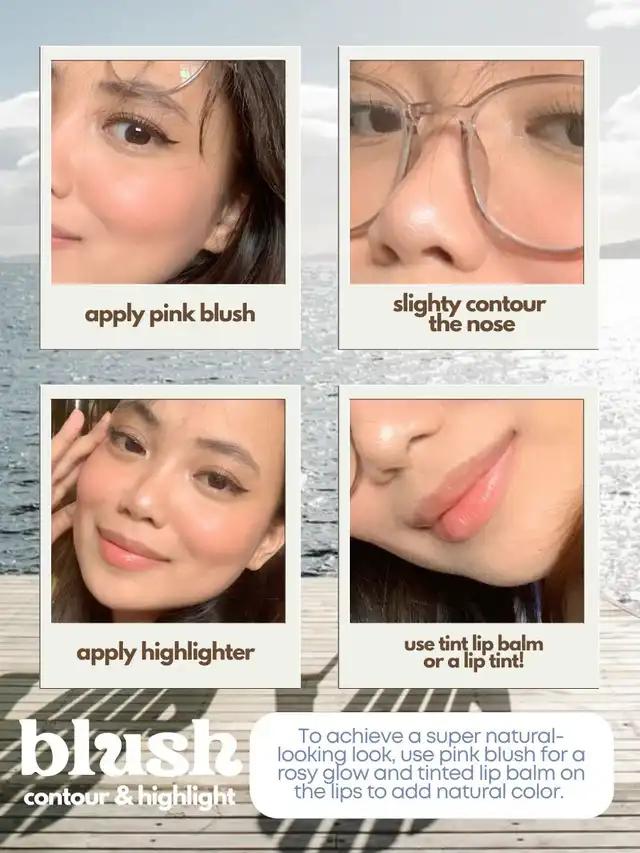
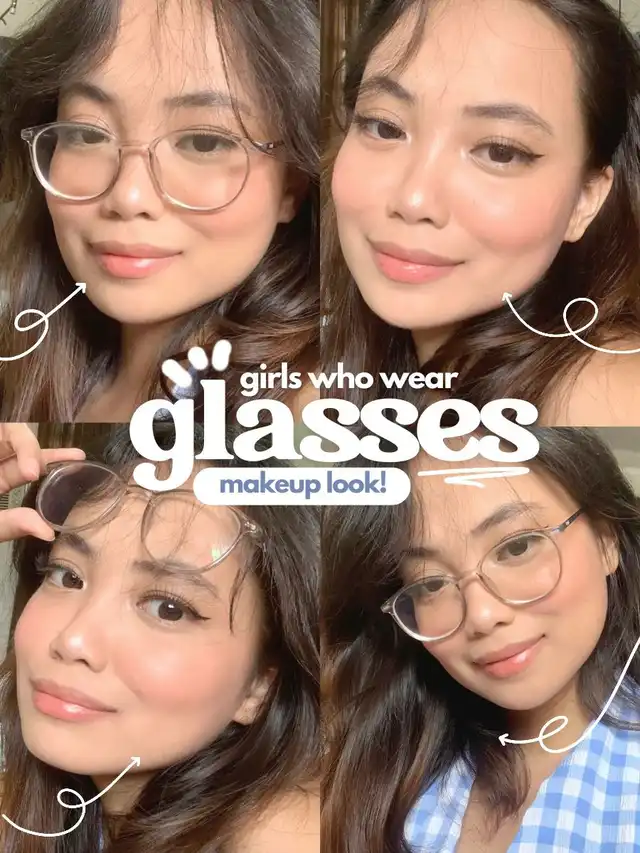
Yesenia @yesenia6 months ago Lightweight Makeup for Girls with GLASSES! If you’re one of those gals who wear glasses but skip wearing makeup (even though you’d love to 😔) because of the thought that it won’t be most likely visible and it might be uncomfortable, let’s have a high-five because I can relate (I used to 🤣). There were many trials and errors in creating a makeup look that’s perfect for girls who wear glasses but I’m glad to say that this makeup look I’ll be teaching and sharing with you today is THE ONE! I’ve received many compliments about this look. Some say that I look super fresh, blooming, and “awake” + this look is very comfortable (it feels like you’re not wearing any makeup because it’s very lightweight!) 🤩👌🏻 Here’s a step-by-step tutorial on how I do my makeup as a gal who wears glasses ALL THE TIME: 👓🌷 STEPS: 1. BASE: First things first, I applied primer all over the face (specifically on the forehead, nose, cheeks, and chin). This creates a smooth canvas for the face, allowing concealer and skin tint to glide on smoothly. Then, I applied concealer and blended it with a blending brush to conceal spots and dark circles. Then, instead of using foundation, I used a blurring skin tint because it’s lightweight. I like my makeup to not feel heavy; when wearing glasses, I prefer the feeling of “almost not wearing any makeup.” 2. BROWS: To make my brows appear fuller and thicker in a natural-looking way, I used a brow shaper. 3. EYE MAKEUP:I like my makeup to be very light and natural in appearance. So, I don’t apply any eyeshadow. Instead, to make my eyes appear bigger and to complete the overall eye makeup, I applied wispy false eyelashes and a classic winged liner. You can also opt for using a mascara, but I don’t like the hassle and discomfort it gives when it develops chunks or smudges off. 4. CHEEKS: For the blush, I applied a pink creamy multi-use stick for as rosy finish. 5. NOSE: Wearing glasses involves the nose and it’s important feel comfortable with this part. I recommend not contouring the nose if there’s no need to. Just apply highlighter on the tip and bridge of the nose. But, in my case, I always contour my nose but for this makeup look, I only applied slightly to enhance it more. 6. LIPPIE: To keep everything natural-looking, I used a pink tinted lip balm for my lips instead of using matte lippies. 7. HIGHLIGHTER: to add a pop of shine to the overall makeup look, I applied highlighter on the cheekbones and cupid’s bow. 8. SET: Finally, set your makeup with a high quality setting spray for your makeup to last longer. 👓🌷 MAKEUP PRODUCTS USED: 1. Ever Bilena Advance First Step Mattifying Primer 2. Ever Bilena Fearless Spot Concealer in the shade “Oriental” 3. Vice Cosmetics Blurrfection Skin Tint in the shade “Freshnezz” 4. Vice Cosmetics Flexi Brow Shaper 5. Bobbie Cosmetics Black Liquid Eyeliner 6. False Eyelashes: Vice Cosmetics The Day is Saved Falsies in “No Trouble Bubbles” (wispy lashes) 7. Ever Bilena Color Stick in the shade “Rosy Hue” 8. Nichido Duo Highlighter and Contour Stick. 9. Careline Strobe Stick 10. Issy & Co. Solar Balm SPF 30 PA+++ in Melodrama 11. GRWM Cosmetics Life-Proof Fixing Spray – Matte 0 25
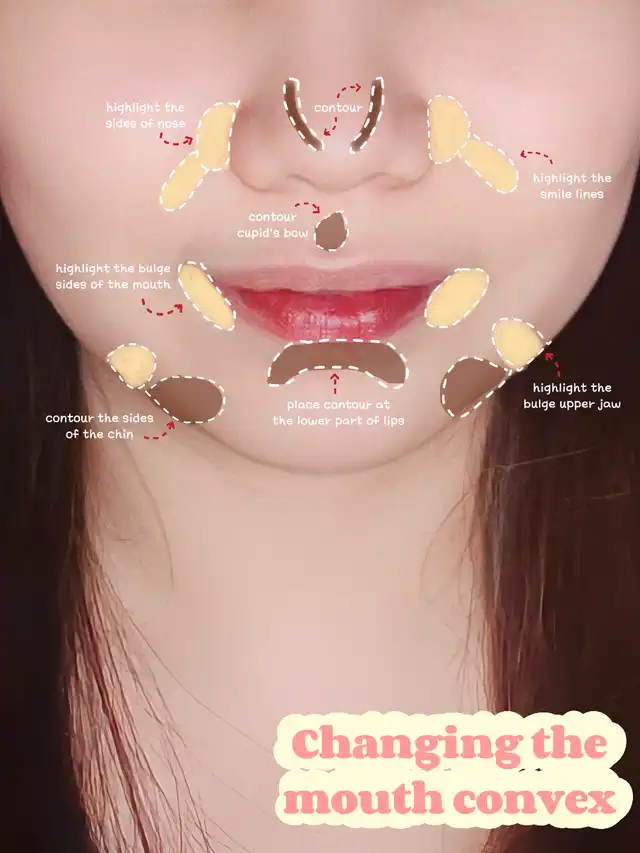
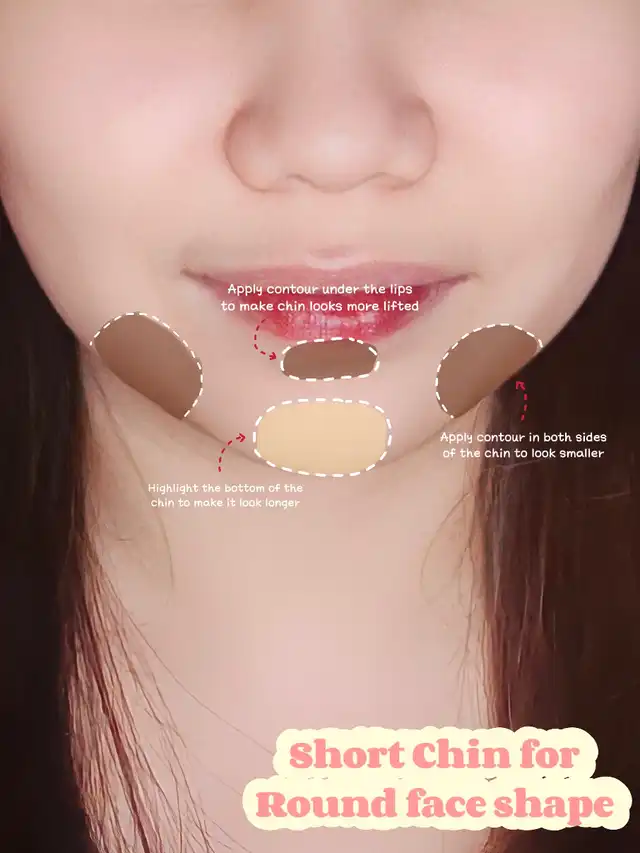
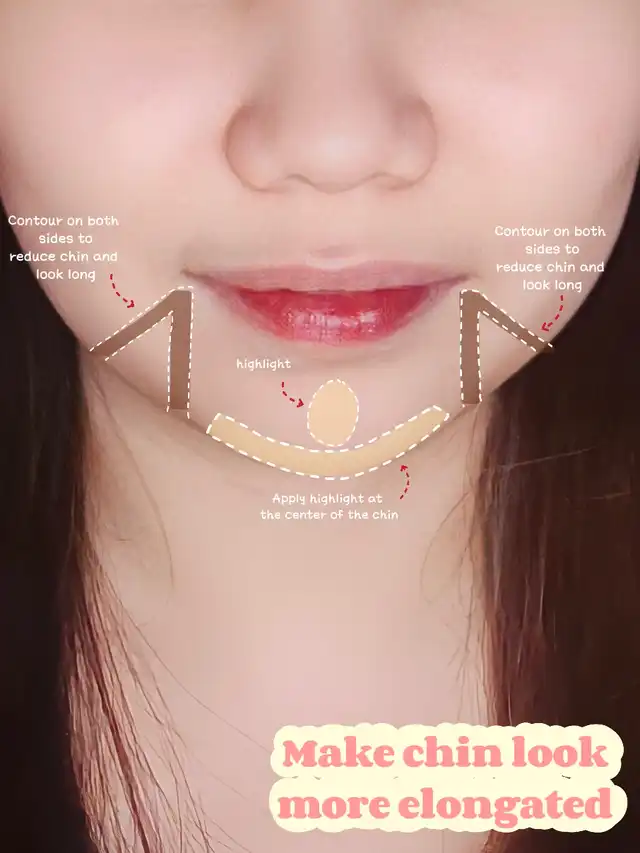
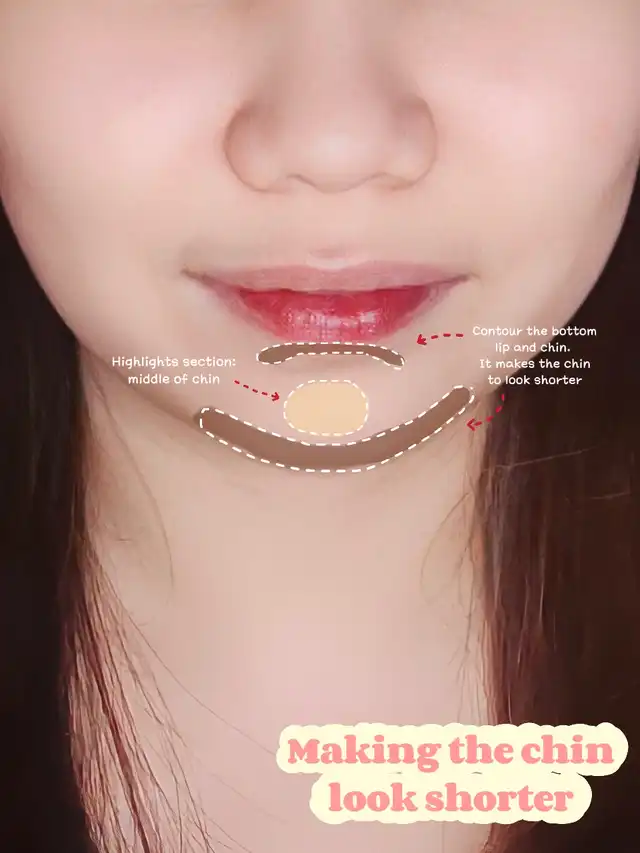
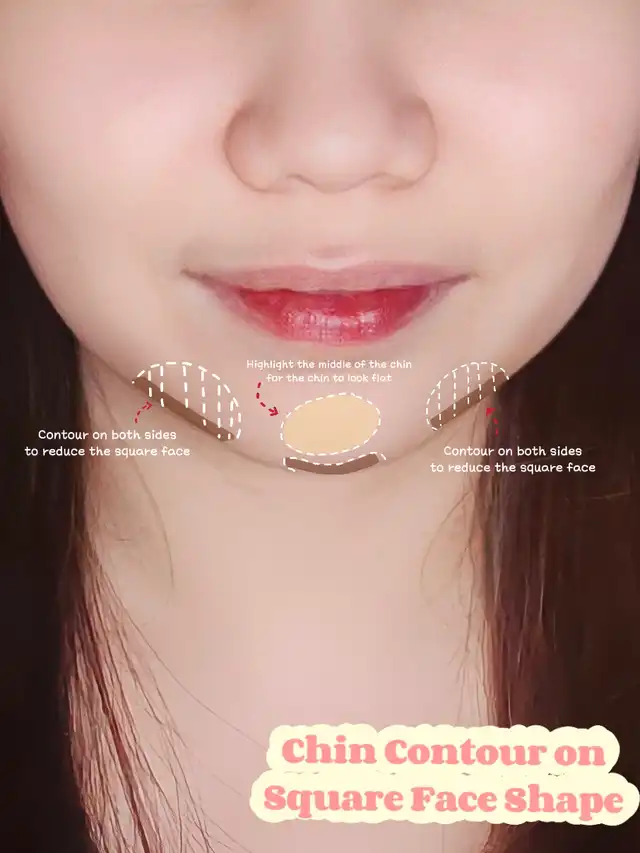
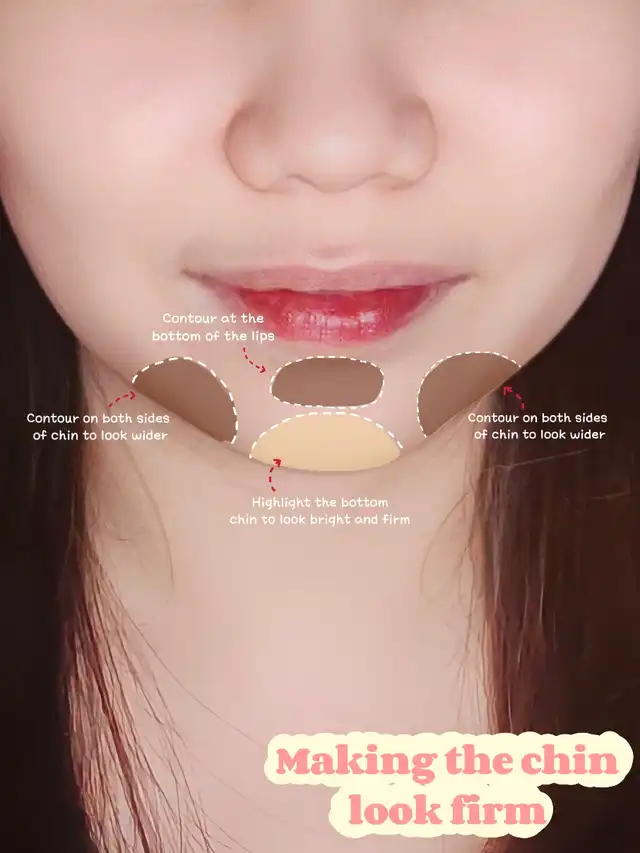
Maia @maia6 months ago Contour + Highlight Chin Tutorial Hi guys! 🥰 Ever wonder how to make various face make up styles that fits to your face shape without sculpting or putting too much contour and highlight on your face? Well, then, here's the trick. ✨ All you need to have is a contour stick and a highlight or concealer that matches your skin tone. ✅Choose a contour style that suits your face and chin shape. ✅For beginners, use a soft contour color and use a highlight color that is not too shiny. ✅Make sure the contour blend is right and not too obvious. ✨Contour Basics for Beginners If you are a contour newbie, the main focus is to enhance your features or to minimize others. Blending will become your new best friend, as you will learn to eliminate any harsh edges and lines that created on your face, leaving the illusion of a naturally defined bone structure. When applying contour, you might want to opt for a stippling brush or a beauty sponge, so you can seamlessly blend and sculpt your contour easily. ~ Every face is different, which means the method can vary with each application! To help narrow it down a bit for you, see the images above for contour and highlight illustration reference 🫶🏻✨ 0 50